Load Testing Process
With the ongoing technology advancements and digitization, everyone is trying to go online. The web traffic is increasing day by day. And this directly impacts on an application’s performance. Load testing of an application has become a necessity now. An application must be at least accessible or one may say stable up to 5,000 users.
Conducting a load test manually requires a lot of human and
machine efforts, which increases cost. To overcome this cost. A lot of
automated performance software’s are made, which I have already discussed in my
previous post.
Before working on any
of the automated software, one should first understand the load testing
process. Here in this post I will be sharing the process of load testing using HP LoadRunner. You
may find similar words like Plan, Create, Define, Run and Analyze as presented in the
functional testing process (QTP). So the theme remains same and the parameter(s) varies
with the type of testing you are about to perform.
This
phase includes planning and configuration of user’s requirements. You should first see if
the requirements are clear i.e. Is the application available for testing? Is
the necessary hardware is available for a load test? How many virtual users are
required to run? What is the required response time? What is system threshold value or the capacity to bear the load?
Create Vuser script:
This phase includes recording end user business actions or commonly known as a
scenario, which is the automated generated
script. When you are done with your script, analyze it. Check for dynamic values like a username, a password, a phone number or any other values. If such values exists, then you have to parameterize your test data so that concurrent users does not uses the same data.
Define scenario:
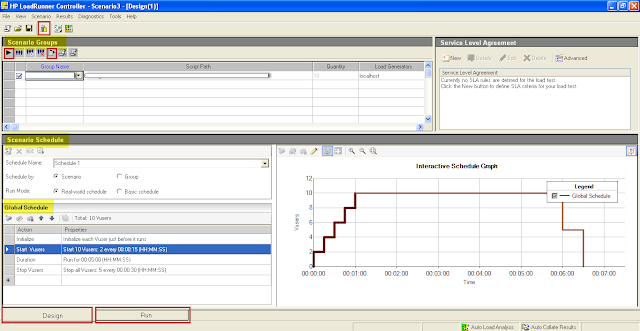
This
phase includes creating the load scenario in the Controller. For example connecting the load generator, initialization and stopping of the virtual users, defining run mode (real world schedule / Basic schedule), setting up the duration, and all other things which needs to be done to establish a load environment.
Run Scenario:
This phase allows multiple activities like Drive, manage and monitor. The scenario in the controller is executed with the applied load. You can initialize, add, stop or even reset the running vusers, or you can also view the current action they are performing. Real time graphs generation lets you monitor application progress.
Analyze Results:
This phase includes creation and reviewing the load results graphs, reports and
performance. This is the most important part of performance testing, if you are unable to understand the result set, then all your efforts are in vain. To have a good comparision always start your load test with a single user and then increase to 10, 50, 100 or as per your requirements and analyze transaction time for all these executions.
So this is the load testing process, I hope it helps!! :) Share with me your valuable feedback and suggestion and help me improve the quality :)

Comments
Post a Comment